Forget the flat, flimsy versions you might have tried before. The quest for the perfect party snack often leads us down a path of disappointment, especially when it comes to homemade Chex Mix. Many enthusiastic home cooks attempt this beloved classic, only to find their efforts result in a snack that's either bland, soggy, or loses its crunch all too quickly. But what if there was a method to consistently achieve an addicting, richly flavored, and supremely crispy homemade Chex Mix that outshines every store-bought variety? Get ready to discover the ultimate recipe that guarantees a sensational snack experience, every single time.
Inspired by culinary wisdom and countless kitchen experiments, we've cracked the code to an irresistible Chex Mix recipe that delivers on both bold flavor and an unwavering crunch. The secret isn't complicated; it lies in a few intelligent tweaks to the classic approach: significantly intensifying the aromatic base and embracing the magic of a low-and-slow bake. This method transforms simple pantry ingredients into a luxurious, savory treat that will have everyone reaching for another handful.
Beyond the Box: Why Most Homemade Chex Mix Falls Flat
The original Chex Mix, a staple since the 1950s, holds a nostalgic charm, but many agree it often leaves something to be desired in terms of robust flavor and deep crunch. It's simple, yes, but often too simple for palates accustomed to bolder tastes. The common pitfalls of homemade versions are well-known: a flavor profile that tastes "flat" or a texture that turns "soft" after baking. This isn't due to a lack of effort, but rather a misunderstanding of how seasonings permeate and how moisture behaves during the baking process.
Traditional recipes might call for standard amounts of garlic and onion powder, but these often get lost amidst the volume of cereals, crackers, and nuts. The result is a mix where the seasoning feels superficial, lacking the deep, savory satisfaction we crave. Similarly, the baking method plays a crucial role. Many recipes suggest higher temperatures for shorter periods, which can lead to disastrous textural results. The challenge, then, is to preserve the comforting appeal of a classic party mix while ingeniously addressing these common frustrations. Our approach focuses on elevating the core components – seasoning and baking – to achieve truly exceptional results.
The Secret to Unforgettable Flavor: Double the Depth
What truly sets an extraordinary homemade Chex Mix apart is its ability to deliver an explosion of savory flavor in every bite. This isn't about adding exotic spices, but rather amplifying the foundational aromatics that make a savory snack so appealing. Inspired by culinary innovators, the key is remarkably simple yet transformative: double the garlic and onion flavor.
A Symphony of Savory Spices
When you double down on the garlic powder and onion powder, you're not just adding more spice; you're building a profound umami base that permeates every single component of the mix. These robust aromatics create a rich, savory backdrop that truly makes the other seasonings sing. Beyond this powerhouse duo, the classic quartet of Worcestershire sauce, seasoned salt, and a touch of butter are essential. Worcestershire sauce contributes a tangy, fermented depth, while seasoned salt provides a balanced salinity and additional herbal notes. The butter, of course, acts as the flavor carrier, ensuring that all these magnificent spices adhere evenly to the mix. It’s a delicate balance, where each ingredient plays a crucial role in crafting a complex, highly addictive taste profile. The goal is a uniform coating, ensuring no bland pieces disrupt the flavor journey.
Building the Perfect Base
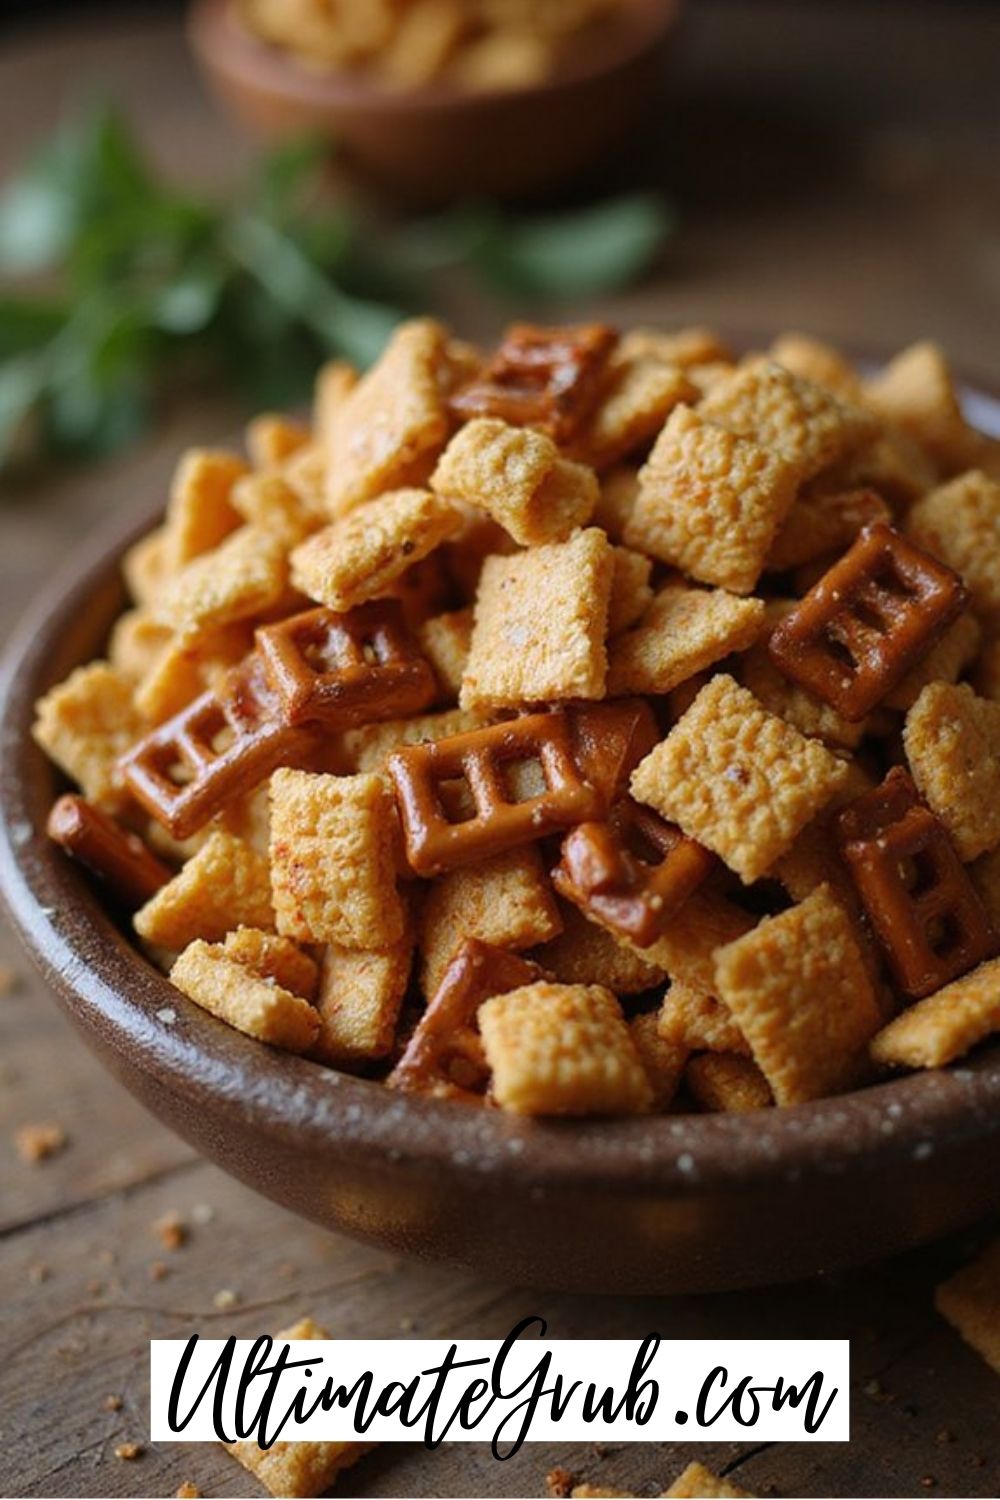
A great homemade Chex Mix is also a celebration of texture. The magic happens when an array of crunchy components comes together. Typically, this includes a blend of Chex cereals (Rice, Corn, or Wheat Chex work wonderfully), crispy cheese crackers (like Cheez-Its), pretzels for their classic crunch and salty bite, and a selection of nuts (pecans, cashews, or peanuts are popular choices). Each element contributes its unique crispness and shape, creating a delightful surprise in every handful. The combination ensures a balance of savory, salty, and satisfyingly crunchy pieces, making it incredibly hard to stop once you've started.
The Crunch Conundrum: Mastering the Low & Slow Bake
One of the most disheartening experiences with homemade Chex Mix is biting into a piece that’s gone soft or soggy, ruining the entire snack experience. This common problem leads many to ask, “Why is my Chex Mix soggy?” The answer, surprisingly, often boils down to a fundamental principle of baking: moisture management.
The Moisture Menace: Why Chex Mix Gets Soggy
The primary culprit behind soggy Chex Mix is often trapped moisture. Butter, the very ingredient that makes the seasoning stick and adds a rich flavor, is not pure fat. It contains a significant amount of water. If your mix bakes too quickly at a high temperature, the water in the butter doesn't have enough time to fully evaporate. Instead, it gets sealed into the cereals and pretzels, turning them soft and chewy rather than light and crisp. This often happens because bakers rush the process, thinking a higher heat will speed things along. However, for a snack that demands ultimate crispness, patience is not just a virtue, it’s a necessity.
The 250°F Solution: A Patient Process
The fix for this common issue is elegantly simple: bake the Chex Mix low and slow. The ideal temperature is 250°F (120°C), and you'll need to give it time – typically 2 to 3 hours, depending on your oven and batch size. This gentle, prolonged heat allows the water content in the butter to slowly and steadily evaporate. As the moisture cooks off, what remains is the concentrated fat and seasoning, which then coats and clings to every piece of cereal, cracker, and nut, baking them to a perfect, enduring crispness. It’s a dehydration process as much as it is baking, ensuring that the final product is light, airy, and audibly crunchy.
Beyond the temperature, regular stirring is critical. Every 15-30 minutes, gently toss the mix to ensure even exposure to the heat. This prevents burning on the bottom and ensures that every piece has a chance to crisp up beautifully. Once baked, remove the mix from the oven and spread it in a thin layer on parchment paper or baking sheets to cool completely. Cooling is a final, vital step in achieving maximum crunch; as it cools, the mix will further crisp up, locking in that irresistible texture. This methodical approach might take a little longer, but the reward is a Chex Mix that stays perfectly crisp for days, making it worth every minute.
Customizing Your Chex Mix: Endless Possibilities
While the foundational recipe provides a perfect base, one of the greatest joys of homemade Chex Mix is its incredible versatility. It's a culinary canvas, ready for your personal touch, allowing you to tailor it to your exact preferences or what you have on hand.
Ingredient Swaps
Don't be afraid to experiment with the core components. If you're out of one type of Chex, simply use more of another. Replace cheese crackers with Goldfish crackers, pita chips, or even small bagel chips for different flavor nuances and textures. For pretzels, consider minis, sticks, or even pretzel nuggets. Nuts offer a vast playground for customization: try walnuts, almonds, pistachios, or even pumpkin seeds for an unexpected twist. Some creative additions include:
- Mini breadsticks
- Rye chips (a classic addition for many!)
- Dried cranberries or cherries for a sweet-tart counterpoint
- Various types of seeds (sunflower, sesame)
Flavor Variations
Beyond the texture, you can also dramatically alter the flavor profile of your Chex Mix. A simple adjustment to the spice blend can create a completely new experience:
- Spicy Kick: Add a pinch of cayenne pepper, red pepper flakes, or a dash of hot sauce to your butter mixture for a fiery version.
- Sweet & Salty: Introduce a tablespoon or two of brown sugar or maple syrup to the seasoning for a delicious contrast.
- Smoky Undertones: A half-teaspoon of smoked paprika or a drop or two of liquid smoke can impart a delightful campfire essence.
- Herb Garden: Experiment with dried herbs like Italian seasoning, dill, or rosemary for an aromatic twist.
- Ranch Style: Incorporate a packet of dry ranch seasoning mix for a creamy, zesty flavor.
Remember to always balance your additions. The key to a great customized Chex Mix is to maintain harmony between the savory, salty, and crunchy elements, ensuring a delightful surprise with every bite.
Perfect for Any Occasion: The Ultimate Party Snack
With its unbeatable crunch and layers of savory flavor, this Chex Mix recipe is truly the ultimate party snack. Its versatility makes it suitable for virtually any gathering, from casual game day get-togethers to elegant holiday celebrations. It’s the kind of snack that disappears rapidly, leaving guests wondering where the next batch is coming from. Its satisfying richness also makes it a fantastic after-school treat, a convenient grab-and-go option for road trips, or even a thoughtful homemade gift for friends and neighbors.
Because of its robust texture and flavor, it holds up incredibly well. Store your freshly baked Chex Mix in an airtight container at room temperature for up to two weeks, though we doubt it will last that long! The careful baking process ensures it remains perfectly crisp, allowing you to enjoy that satisfying crunch long after it comes out of the oven. Prepare a large batch; trust us, it’s an easy party food that no one can resist, guaranteeing empty bowls and happy guests.
There's no need to settle for a mediocre Chex Mix ever again. By embracing the simple yet powerful techniques of doubling your savory aromatics and committing to a low-and-slow bake, you can transform a classic snack into an utterly addicting culinary masterpiece. This method addresses the common pitfalls of blandness and sogginess, delivering a consistently crispy, deeply flavored, and utterly irresistible treat. So, gather your ingredients, set your oven to 250°F, and prepare to elevate your snack game. Your guests, your family, and your taste buds will thank you for unleashing the true potential of the ultimate party snack.
